


概要
Golangでデスクトップアプリを作りたい…
そこで見つけたのがWails

Wailsとは
Wailsは、Go言語とWeb技術を使用して、デスクトップアプリの構築を可能にするプロジェクトです。
マルチプラットフォームに対応で、Windowsのインストーラも直接吐きだせます
基本的仕組みは、Electronと同じですがバックエンドにGolangを使用することにより、高速で柔軟な開発が可能となります
フロントエンドは、「React」、「Svelte」、「Vue」、「Preact」、「Lit」から選ぶことが可能で、すきなフロントで開発できます
デフォルトでViteを使用した開発も可能です
環境構築
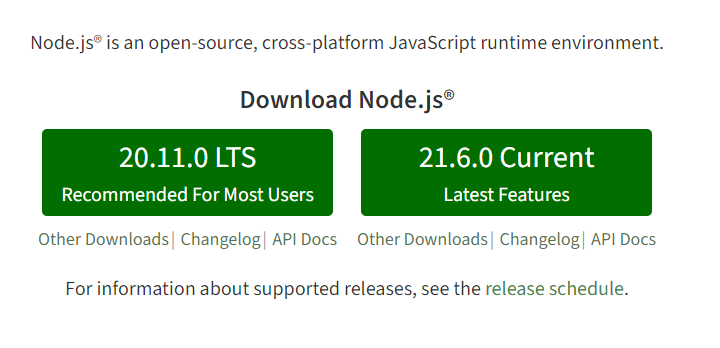
Nodejs
ダウンロード
以下サイトからLSTのNodeJSをダウンロードします

インストール
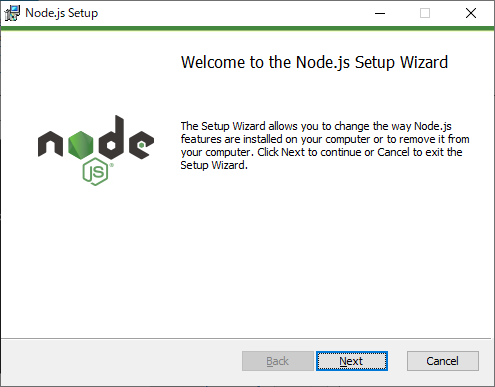
ダウンロード後、ファイルをクリックしてインストールします
Golang
ダウンロード
以下サイトからGolangのインストーラをダウンロードします

インストール
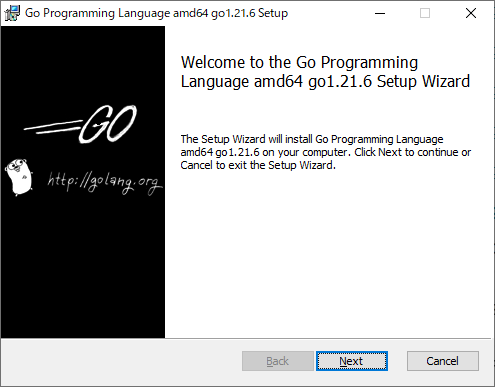
インストーラをダウンロード後、ファイルをクリックしてインストールします
インストール確認

Wails
Wailsはgoのコマンドでインストールできます
インストール
以下のコマンドを実行すると最新版のwailsがインストールできます
go install github.com/wailsapp/wails/v2/cmd/wails@latest
インストールチェック
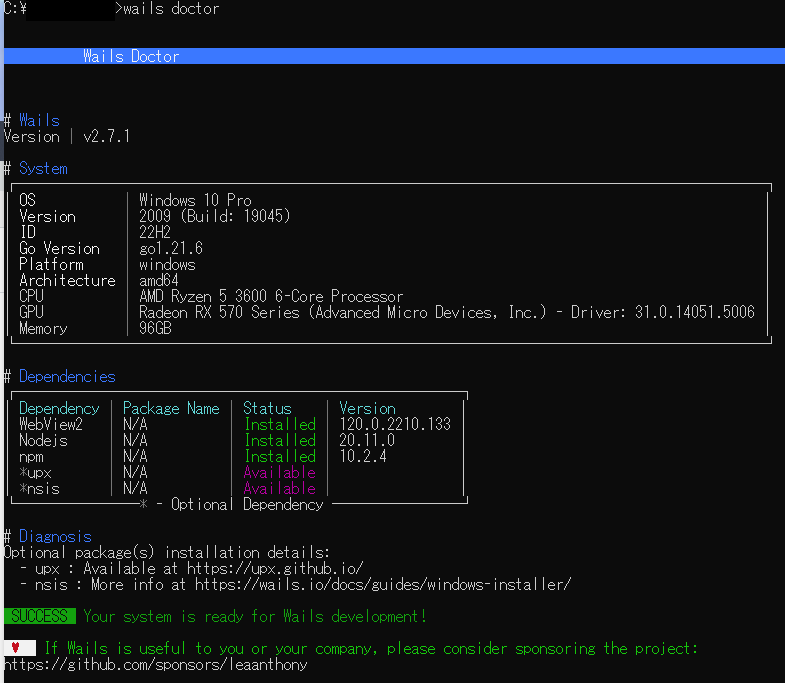
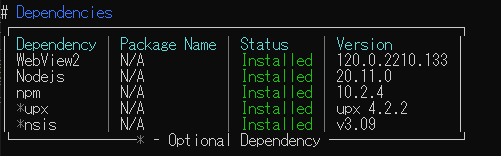
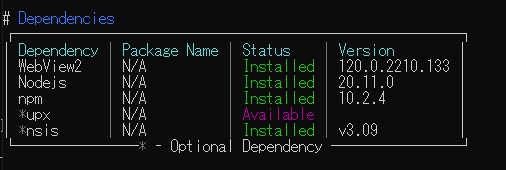
以下コマンドでインストールに問題ないか確認することができます
wails doctor問題がない場合、「Status」はInstalledになります
「upx」と「nsis」はオプションのため必須ではありませんが後ほどインストールの仕方を説明します
upx

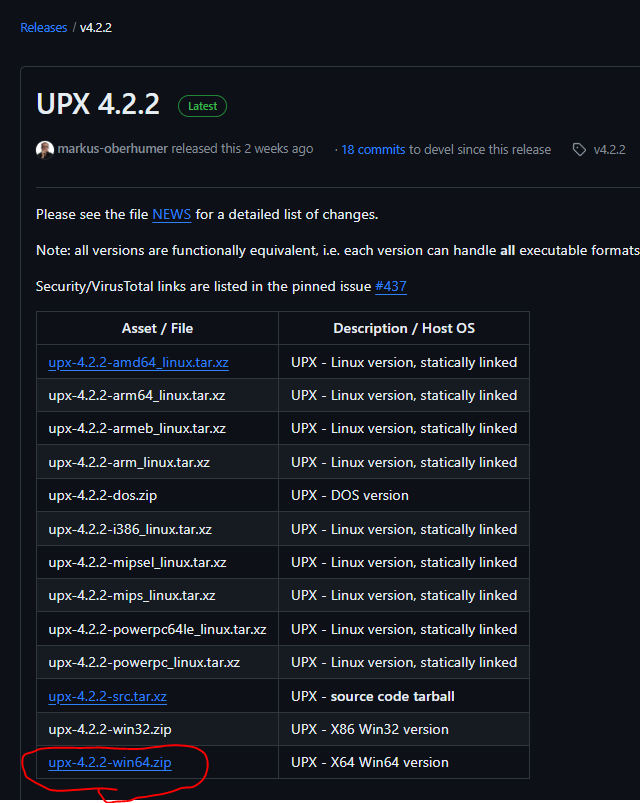
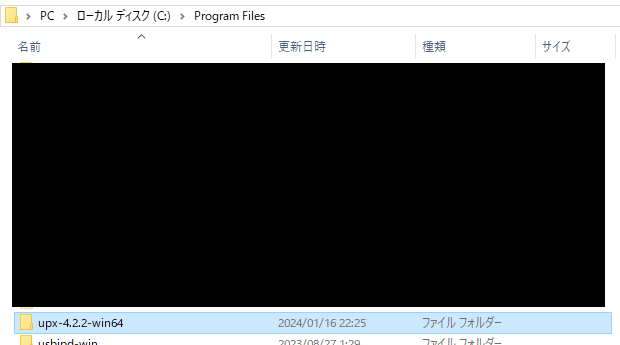
「win64.zip」と書かれているものをクリックしてダウンロードします
zipを解凍して、「C:\Program Files」に保存します
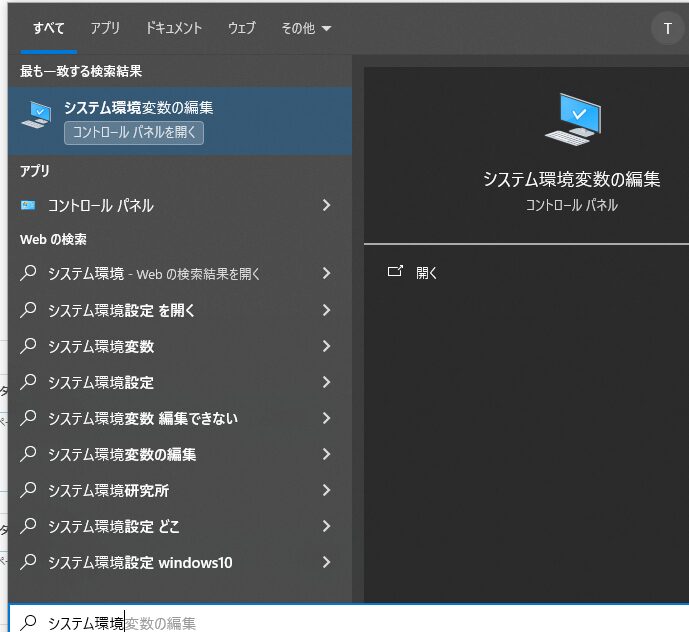
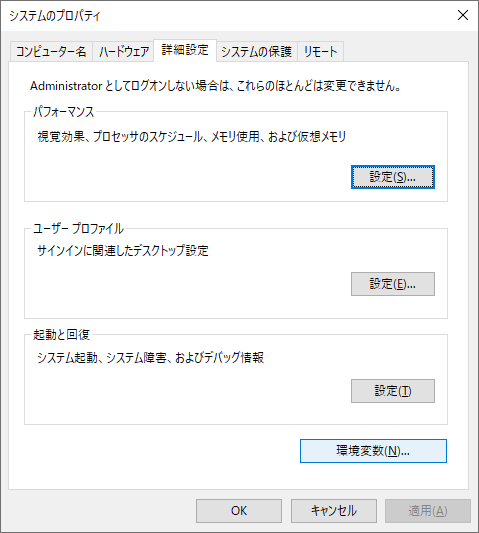
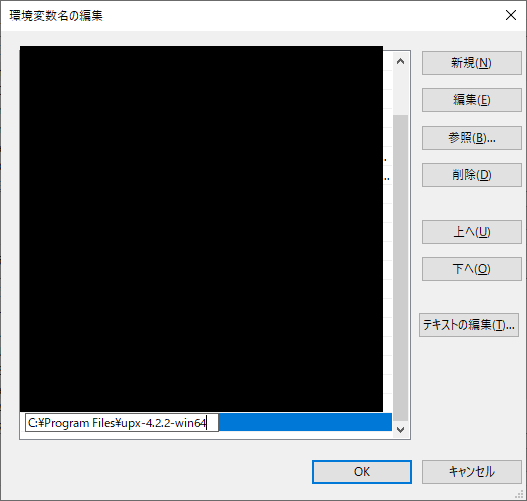
システム環境変数を開きます
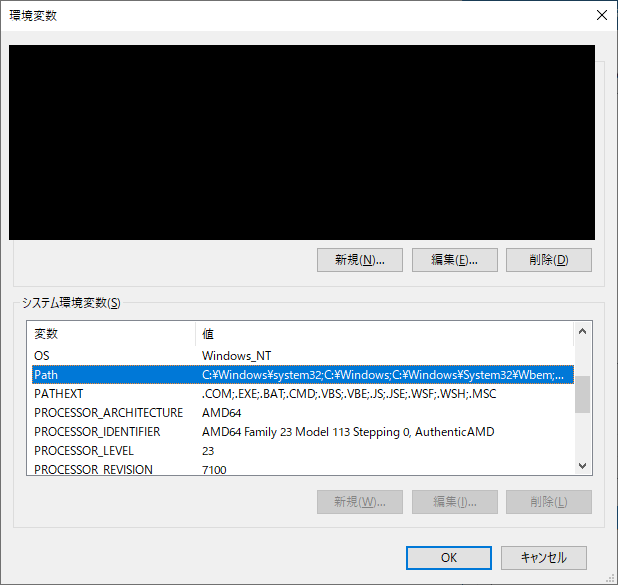
PathにUPXのロケーションを入れ「OK」を押します
nsis
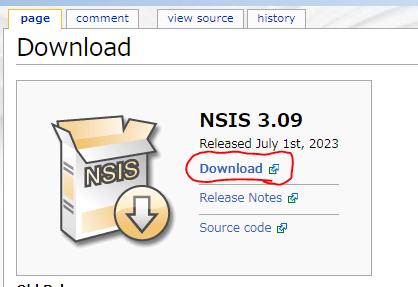
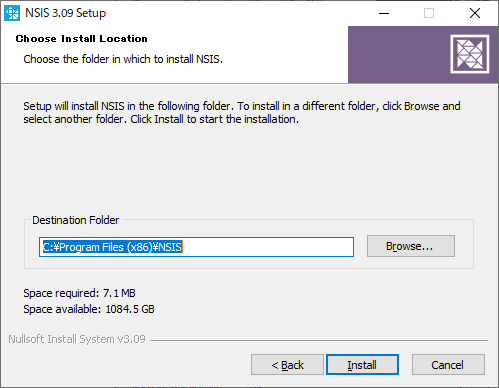
以下サイトにアクセスして下の画像の「Download」をクリックしてインストーラをダウンロードします

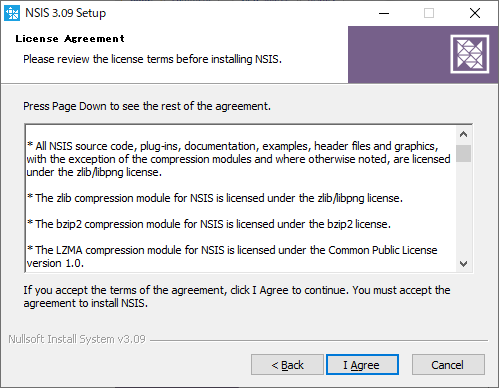
インストーラをダウンロード後、ファイルを実行してインストールします


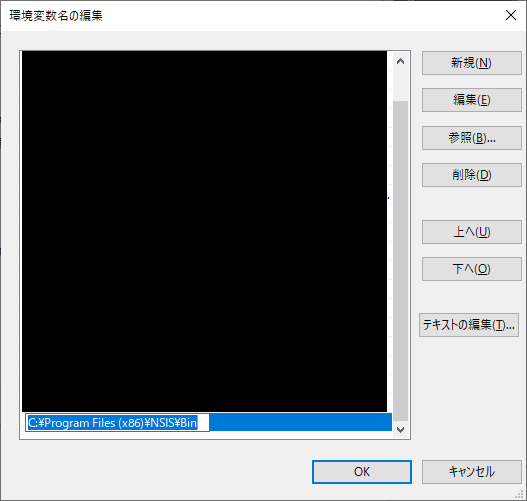
インストール後、Windowsのシステム環境変数を開きます
「環境変数」をクリックします
PathにNSISのロケーションを入れ「OK」を押します
プロジェクト作成
プロジェクトの作成をします
今回フロントはReactを選択しました
以下コマンドでReactを含んだプロジェクトを作成できます
wails init -n <プロジェクト名> -t react
>wails init -n sample -t react
Wails CLI v2.7.1


# Initialising Project 'sample'
go: downloading github.com/matryer/is v1.4.0
go: downloading github.com/leaanthony/u v1.1.0
go: downloading github.com/stretchr/testify v1.8.1
go: downloading github.com/leaanthony/go-ansi-parser v1.6.0
go: downloading github.com/wailsapp/mimetype v1.4.1
go: downloading github.com/tkrajina/go-reflector v0.5.6
go: downloading github.com/godbus/dbus/v5 v5.1.0
go: downloading github.com/bep/debounce v1.2.1
go: downloading github.com/jchv/go-winloader v0.0.0-20210711035445-715c2860da7e
Project Name      | sample
Project Directory | C:\Users\ユーザ名\sample
Template          | React + Vite
Template Source   | https://wails.io

Initialised project 'sample' in 5.342s.

 ♥   If Wails is useful to you or your company, please consider sponsoring the project:
https://github.com/sponsors/leaanthony
wails init -n sample -d sampleDirectory -g -ide vscode -t reactC:\Users\ユーザ名>wails init -n sample -d sampleDirectory -g -ide vscode
Wails CLI v2.7.1
# Initialising Project 'sample'
Project Name | sample
Project Directory | C:\Users\ユーザ名\sampleDirectory
Template | Vanilla + Vite
Template Source | https://wails.io
INFO VSCode config files generated.
INFO Git repository initialised.
Initialised project 'sample' in 1.09s.
♥ If Wails is useful to you or your company, please consider sponsoring the project:
https://github.com/sponsors/leaanthony実行
以下のコマンドを実行するとコンパイルされ実行されます
wails dev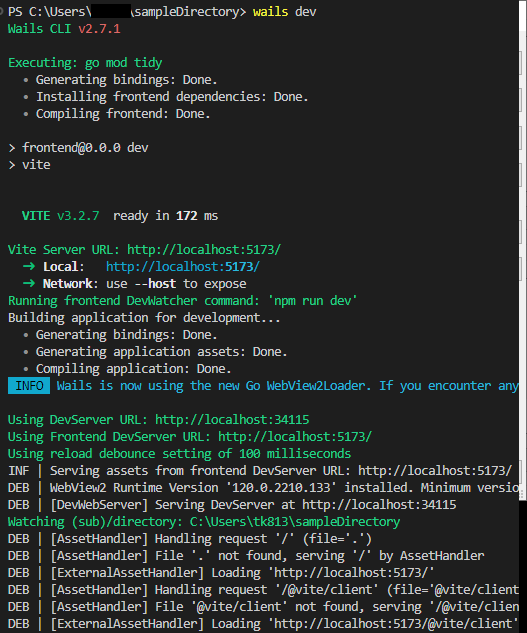
下の画像のようにデスクトップアプリケーションが起動します
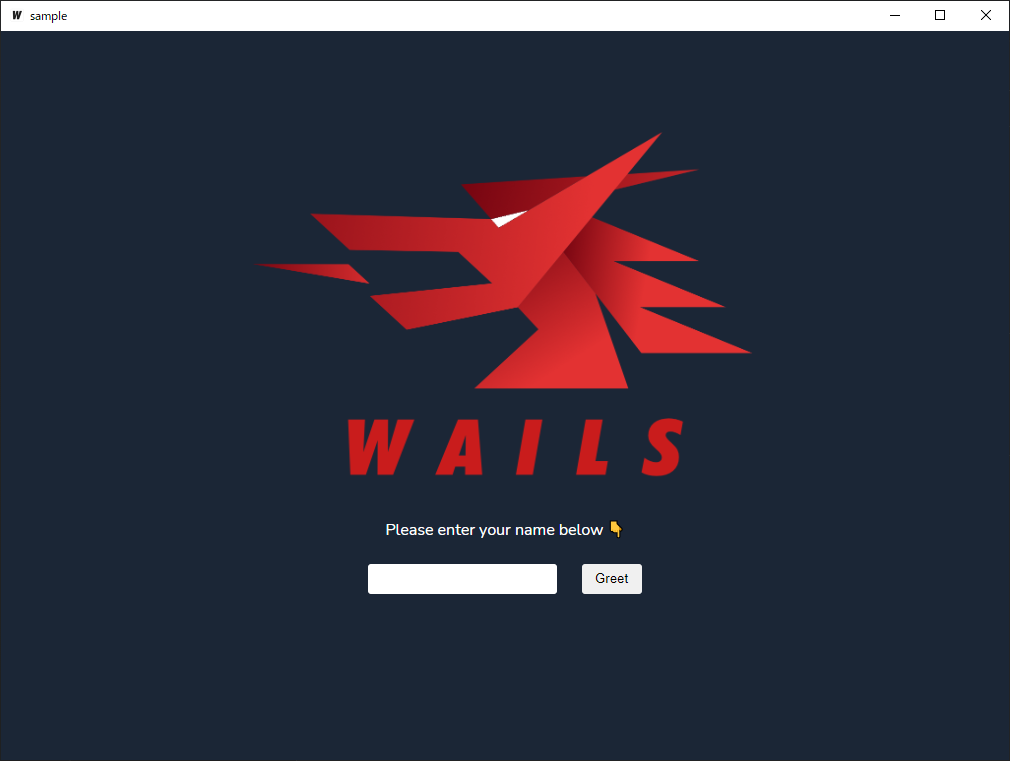
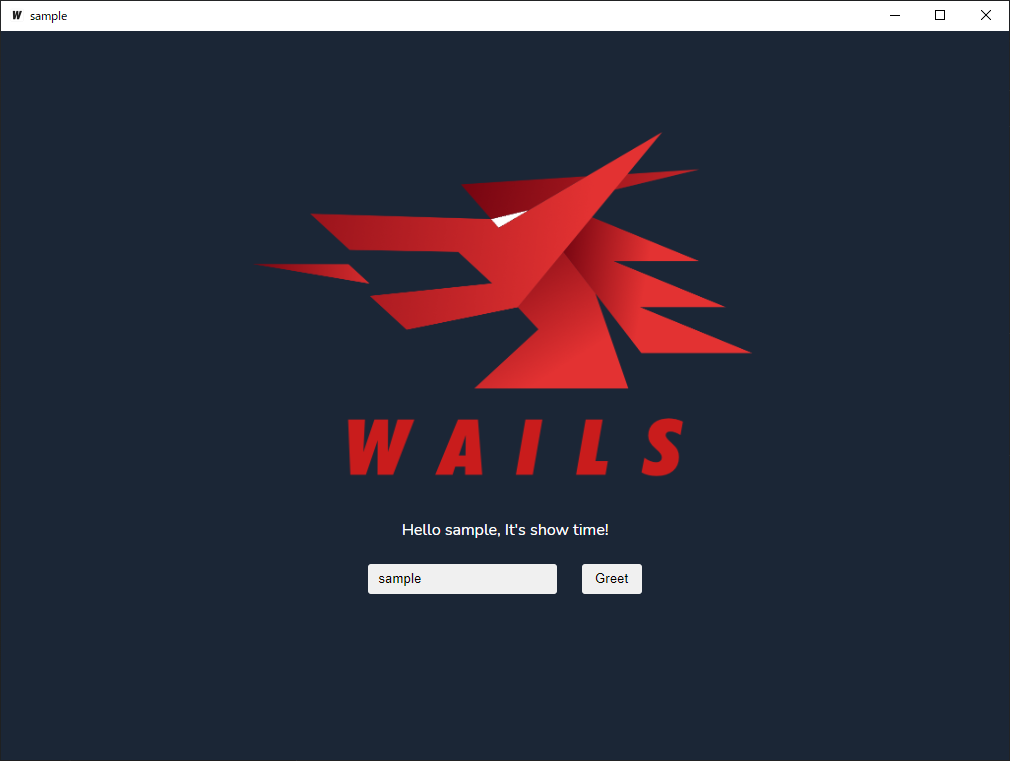
テキストボックスに文字を入れて「Greet」ボタンを押すと画面の描画が変わります
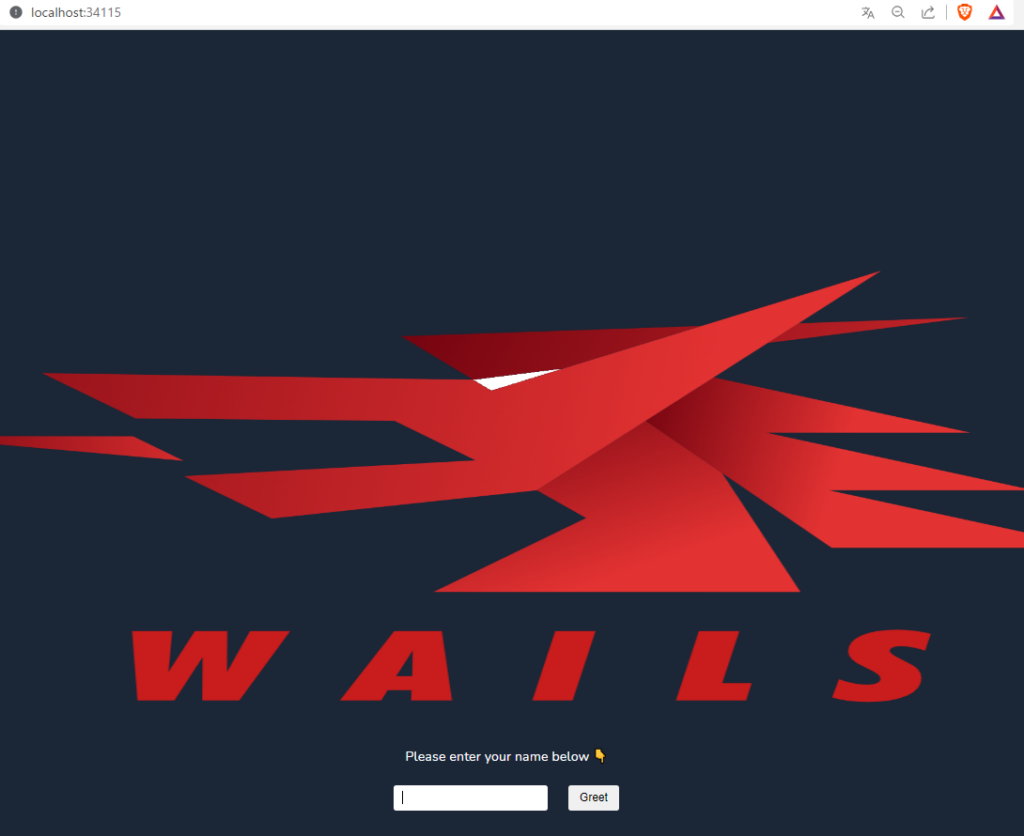
ちなみにlocalhost:34115で動作しており、ブラウザから同じものを表示することが可能です。
簡単に言えばブラウザで動作しているものをデスクトップアプリケーションにしているだけです
build
開発したものをリリースする際は、buildコマンドを使用します
以下のコマンドを実行すると実行ファイルを出力してくれます
wails build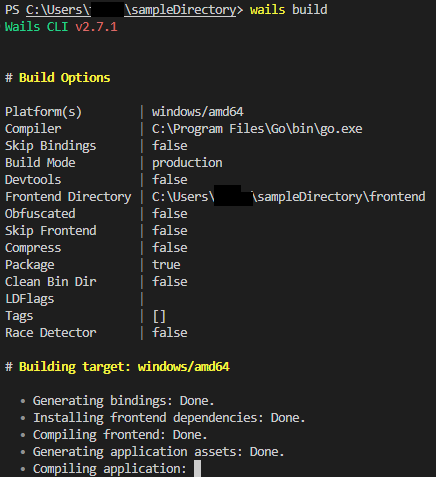
出力された実行ファイルは以下の画像の通り「build」>「bin」の中にあります

以下のコマンド(-nsis)を実行するとインストーラを出力してくれます
wails build -nsis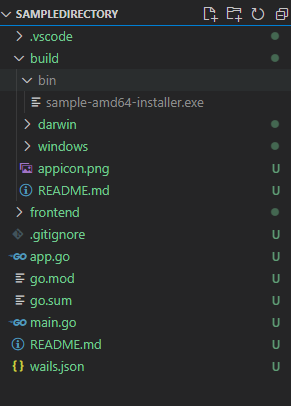

コメント