


はじめに
Mac Ventura で Latexを構築してVSCodeでLatexを書き自動でPDFを生成するまでを紹介していきます
最新のバージョンに対応しています
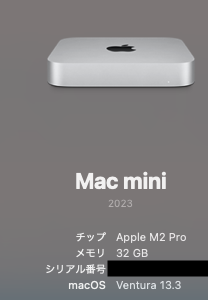
筆者のMac環境
Windowsの場合
Windowsで構築したい方は、以下の記事に移動してください

環境構築
Homebrew
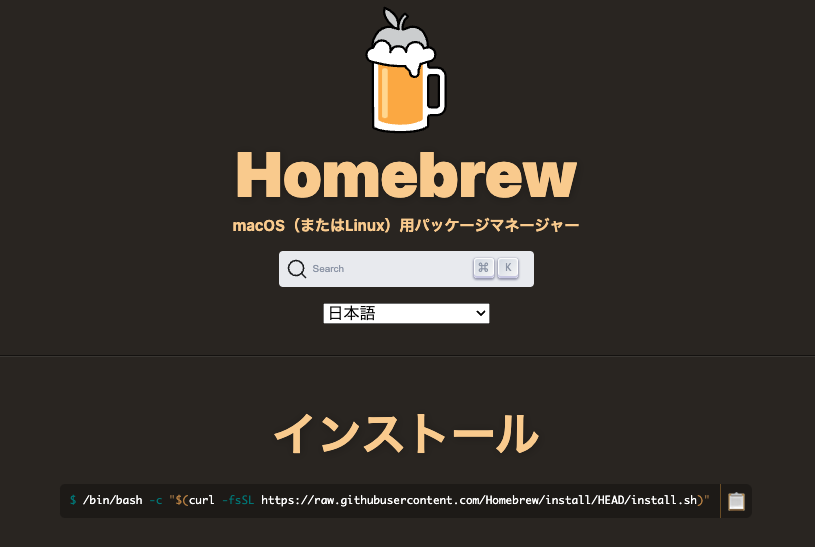
- Terminalを開きます
2. Terminalを開いた後は以下のコマンドをコピーしてterminalに貼り付けてください
/bin/bash -c "$(curl -fsSL https://raw.githubusercontent.com/Homebrew/install/HEAD/install.sh)"
3. 「Press RETURN/ENTER to continue or any other key to abort:」が表示されたらEnterキーを押しましょう

4. 「Next step」と表示されたら以下の表示部分をコピーします

5. コピーしたところをTerminalに貼り付けてEnterキーを押します

6. 以下コマンドをTerminalに入力してVersion情報が表示されれば完了です
brew --version
Brew Cask
以下コマンドをTerminalに貼り付けEnterキーを押します
brew install cask- 実行結果
% brew install caskMacTex
- 以下コマンドをTerminalに貼り付けます
brew install --cask mactex-no-gui以下の画面が表示されたらインストール完了です

TeX Live Update
Terminalを一回閉じ、再び開いて以下コマンドを実行します
sudo tlmgr update --self --allアップデートはかなり時間がかかります
 % sudo tlmgr update --self --all
Password:
tlmgr: package repository https://ftp.kddilabs.jp/CTAN/systems/texlive/tlnet (not verified: gpg unavailable)
tlmgr: saving backups to /usr/local/texlive/2023/tlpkg/backups
tlmgr: no self-updates for tlmgr available
[  1/115, ??:??/??:??] update: acmart [4845k] (64967 -> 66726) ... done
[  2/115, 00:05/04:34] update: auto-pst-pdf-lua [81k] (54779 -> 66637) ... done
[  3/115, 00:08/07:11] update: autoaligne [358k] (56966 -> 66655) ... done
[  4/115, 00:11/09:13] update: babel [1780k] (65823 -> 66698) ... done
[  5/115, 00:15/09:24] update: babel-greek [1670k] (66346 -> 66610) ... done
[  6/115, 00:20/10:08] update: beamertheme-arguelles [644k] (66358 -> 66645) ... done
[  7/115, 00:23/10:52] update: biblatex-apa [351k] (63719 -> 66605) ... done
[  8/115, 00:26/11:50] update: biblatex-ext [886k] (63638 -> 66641) ... done
[  9/115, 00:29/12:06] update: biblatex-gb7714-2015 [1422k] (64967 -> 66752) ... done
[ 10/115, 00:32/11:47] update: biblatex-publist [426k] (66273 -> 66613) ... done
[ 11/115, 00:35/12:26] update: bithesis [1134k] (66366 -> 66765) ... done
[ 12/115, 00:39/12:42] update: chemfig [1380k] (65912 -> 66655) ... done
[ 13/115, 00:42/12:25] update: citation-style-language [2977k] (65878 -> 66749) ...
VSCode
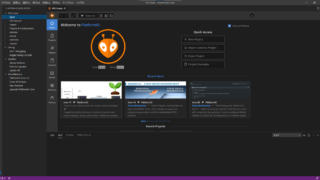
VSCodeをインストールします
以下ページにアクセスしてプログラムをダウンロードしてインストールしてください
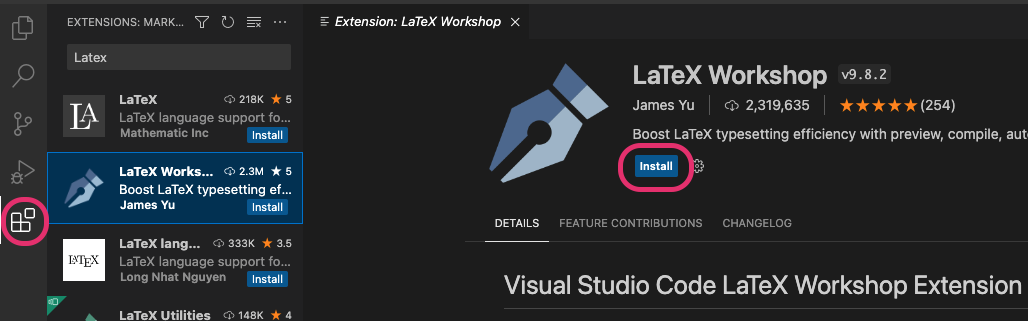
拡張機能(LaTeX Workshop)をインストール
VSCodeを開き、左のメニューから「Extension Market」を選択します
検索欄に「Latex」と検索し、「Latex Workshot」を開きインストールをクリックします

.vscode
プロジェクトを作成して「.vscode」でフォルダを作成します
以下のように、その中に、「settings.json」を追加してください
settings.jsonに以下をコピーして貼り付けます
{
    "latex-workshop.latex.tools": [
        {
            "name": "ptex2pdf",
            "command": "ptex2pdf",
            "args": [
                "-shell-escape",
                "-l",
                "-ot",
                "-kanji=utf8 -synctex=1 -interaction=nonstopmode -halt-on-error -file-line-error",
                "%DOCFILE%.tex"
            ]
        }
    ],
    "latex-workshop.latex.recipes": [
        {
            "name": "toolchain",
            "tools": [
                "ptex2pdf"
            ]
        }
    ],
    "latex-workshop.view.pdf.viewer": "tab",
    "editor.renderControlCharacters": true,
    "latex-workshop.message.badbox.show": true,
    "latex-workshop.latex.autoBuild.run": "onFileChange",
}
最後に
Latexファイルを編集して上書き保存をすると自動でPDFが出力されるようになります
Windowsの場合
Windowsで構築したい方は、以下の記事に移動してください


コメント